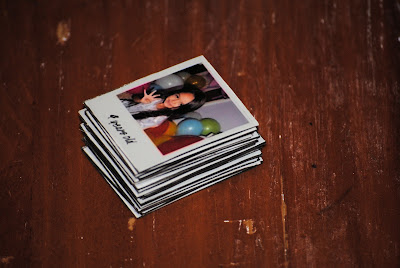
I loved the title so much I thought I would use it twice, and it went with this DIY too.
Mini Polaroid Magnets
Supplies Needed:
- Poster board
- Magnetic Sheets
- Spray Adhesive
- Packaging Tape
- Scissors
- Pictures of your choice
First you will need to use an editing software to make a small collage. My favorite, because it is free and easy to use, is Picasa from google. When in Picasa you will choose your favorite pictures and make a "collage." One of the reasons I like Picasa for this project is because in the collage settings there is a polaroid border you can choose. I decided to use an 8x10 setting. I ended up with a print that looked like this.
I sent it to my local supercenter to print. While in there I picked up the magnetic sheets. The rest is simple.
- You will cut out each individual picture.
- Once they are all cut, you then use your spray adhesive to stick them to the poster board. I suggest you try to get as many down with one spray. If you have to spray again be sure to cover the pictures that are already on the board, so you won't get the front of them sticky.
- Cut them out again. (The poster board is an extra step to make them sturdy.)
- I then put a piece of clear packaging tape over the front to protect the pictures. Almost done.
- After they are all covered and protected place them on the magnetic sheets as close as possible.
- Cut them out once more.
You will end up with a stack of mini polaroids that look something like this.Put them on your fridge and enjoy!
I found this on Pinterest and made a few changes.
I was thinking these would make a cute gift for the Grandparents.


